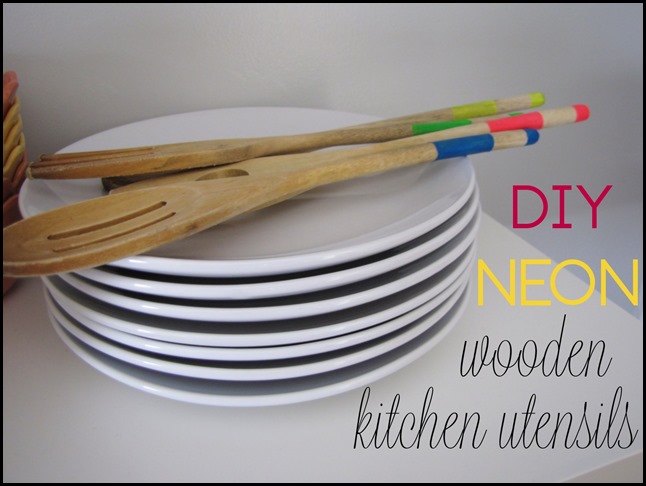
As you may have read, I am knee deep in our ‘mini kitchen makeover’ with still lots to do but also the inspiration for today’s DIY project. While styling my beautifully new white shelves we installed last weekend, an idea came to me to jazz up some of the old wooden utensils I’ve had for years. This project isn’t hard and it didn’t take me long but I love the large effect it has. I had bought some neon paint a few weeks ago knowing full well I would find some way to use them!
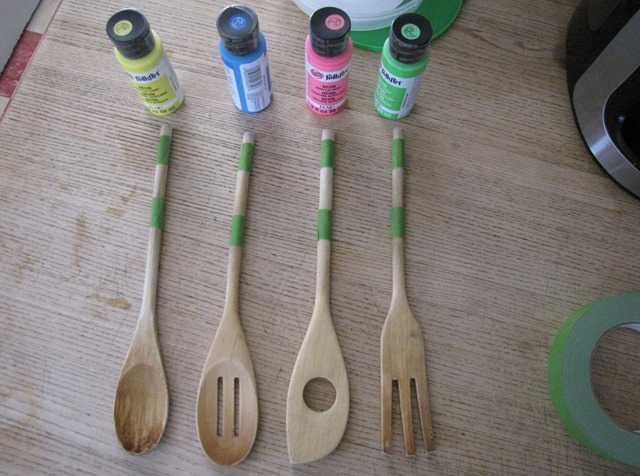
I started by picking out the utensils I wanted to use.
Then taping them off with some frog tape.
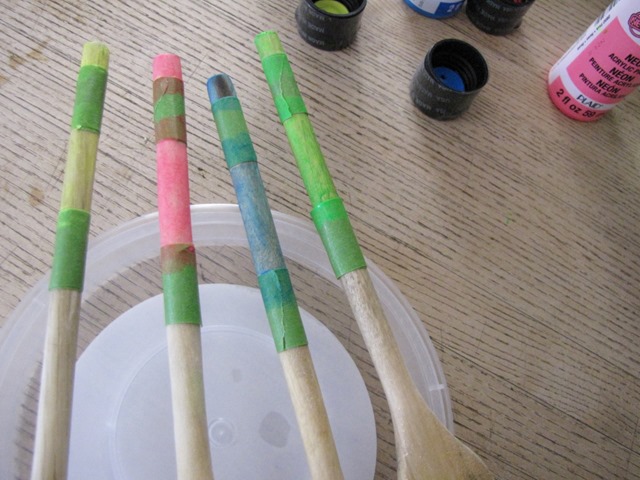
Here we have the first coat of paint applied.
It took about four coats to get decent coverage. As you can see, I couldn’t decide what color I wanted to use, so I went with one of each. It worked out in the end because I kinda like the rainbow! The frog tape did a great job at keeping the lines clean and crisp, just a little info incase your looking for a good painters tape. I usually just use masking tape for small projects like this, but I had it laying around for another much bigger project so decided to give it a trial run.
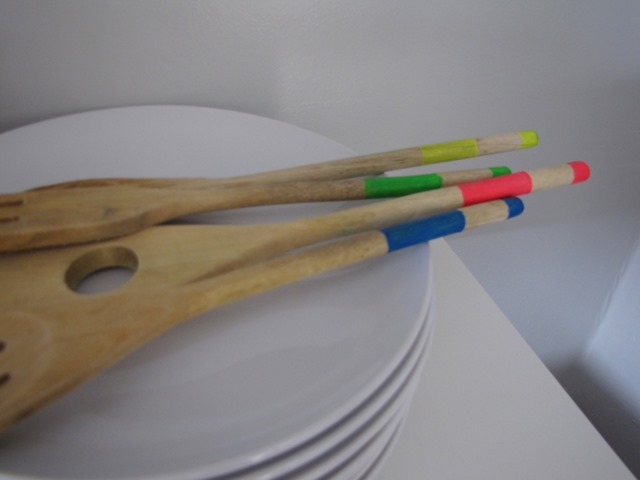
After I was done painting them and they were completely dry, I tried them out around the kitchen, take a peek….
What do you think??? Super easy, but kinda cute, right? Hey, I was dying to hop on the neon train somehow and this little update worked!
I have linked to these wonderful link parties!





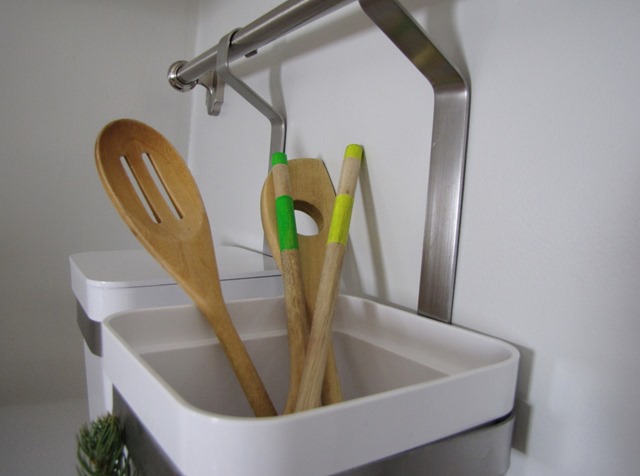

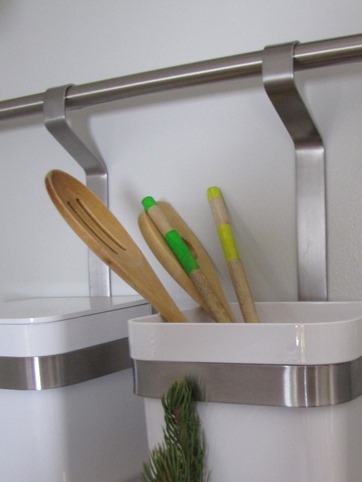



These are so cute! I love the color peeking out of the white containers on the Grundtal rail.
Thanks so much! It’s just a little something but it does the trick!
These are so freaking cute!! And I’m crazy about those wall bins. Dying to see more of your kitchen!
Thanks!!! I love the wall bins too, once I saw them at IKEA I knew they HAD to be mine!!!
Super cute! Love the striped pattern you used!
These are fantastic! I love the neon colors. They are being featured at this week’s link party! http://www.thelifeofjenniferdawn.com/2014/04/a-little-bird-told-me-link-party-88.html
Thank you so much!!
These are on my to make list!! These would make the cutest hostess gifts! Pinning & featuring at tomorrow’s Hit Me With Your Best Shot link up party!
I love the idea of using them as hostess gifts! Thank you so much!
Pingback: Hit Me With Your Best Shot #16 - Dolen Diaries